Conclusion
Conclusion In conclusion, the goal for this project was met. The device was able to monitor and record data while appending and saving the data

Conclusion In conclusion, the goal for this project was met. The device was able to monitor and record data while appending and saving the data

This post will discuss the programming and results for the second test circuit. Existing code that controlled the acceleration of the prototype MROC was used,

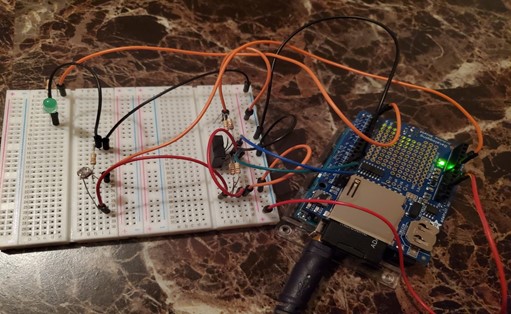
Programming the Arduino Shield test circuit was done in two parts. One program focused on the AM2320, and the other on the photocell and LED.

After assembling the device, the next step was to make a test circuit so I could begin to record data. Usually, when someone collects data,

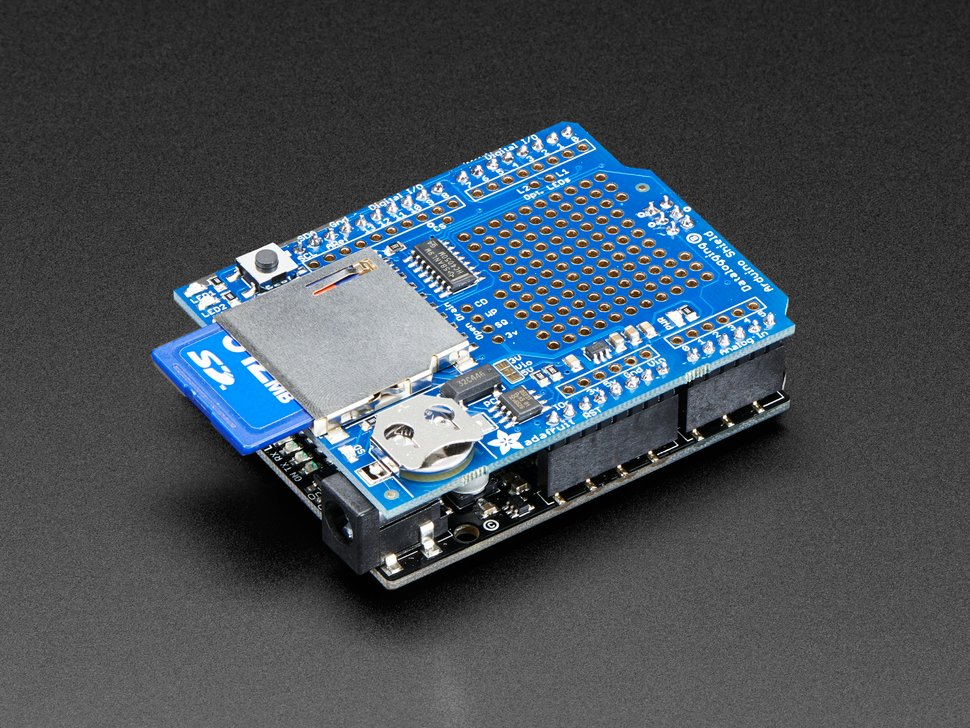
For my data logger design, I used the Arduino Uno Data Logger Shield/ The data logger shield board has pinholes and header pins that align

For our project, Min and I began by separately researching different types of data loggers because there are many out there. We didn’t need a

CBU Student Branch of IEEE